Another friend decided to get this car some good cleanup. He recalled the last time the car was polish (dodgy car care centre) was not less than 18months. So, he wanted the car to look good for Christmas.
Anyhow, the car at hand - A Perodua Kelisa - similar to Daihatsu Mira 5th Gen - is also quite popular around here with all the crazy modding on bodykits; VIP (similar to DUB) styling and turbo'ng the engine and some even managed to put in a VTEC 1.6 engine

So, I really tried my best to do all the work as I was having fever and flu during the 2 day process. So here goes:
DAY 1:
Arrived around 7pm ended at around 12 midnight.
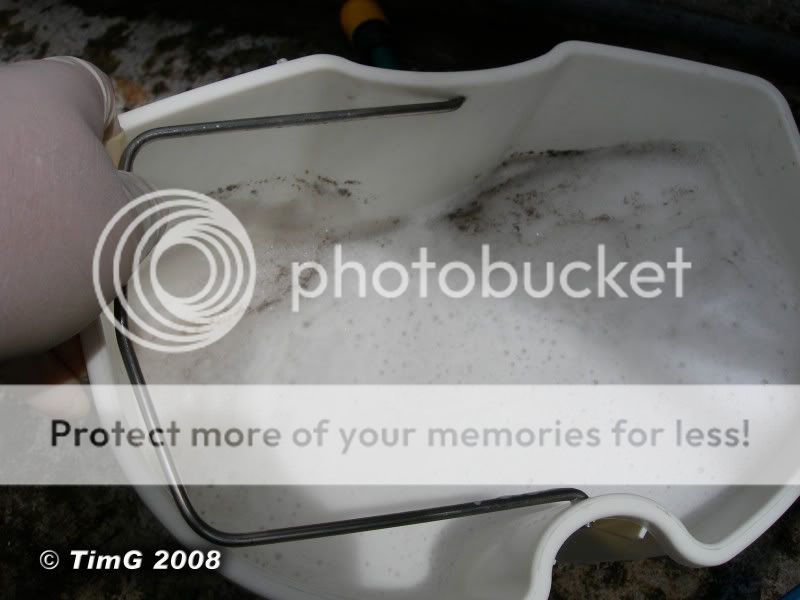
I only washed the car, clayed and took out the stuff inside the car for safekeeping.
Here are some picts on arrival.


Process:
Body- Pressure Washed to clean up all mud /excess grime.
- Presoaked in Megs Hyperwash via foam lance
- Door Jambs,fuel cap, rear hatch,etc sprayed with APC+ and agitated with various brush
- Wheel wells - sprayed with APC+ and agitated with various brush
- Pressure washed again.
- Washed 2BM+GG on NXT Car Wash
- Pressure washed to rinse
- Dried with 2 Water Magnets
- Body, windows & wheels - Clayed with Megs Blue Clay + Last Touch as lube
As for the wheels, here are some picts before the wash.


 Wheels
 - Similar treatment with body
- Wheel Brightener 15:1 on stuborn brake dust - worked great

- Tires sprayed with Super Degreaser (10:1) and agitated with various brush
- Thoroughly rinsed with garden hose.
Some shots on the
engine compartment


Didnt do much on the engine ( -No washing on the engine ;as per instructions of the owner) .
- Only wipe off dirt with generic MFs and Last Touch.
- HyperDressing on all the plastic components.
Here are some before shots of the
interior.

Normal - dusty airvents

Dirty centre console

Dusty dashboard

Arm rest on the door was brown in color. (supposed to be white)

Pedals needs cleaning as do the carpets as well.


Plastic Mats needs a good cleanup


What I initially thought was water, was infact MOTOROIL spilt all over the rear passenger foot place.

Behold - the ULTIMATE DETAILING KIT - Meguiars eat ya heart out

End of day 1
Day 2:
Woke up around 7am and started work around 8am.
Took some picts of the interior in the morning.

Its dirty and it stinks!

Same goes on this side

Seats had some stains in them

Motor oil

There were stains on the rear seats and also the the floor also had motor oil spilt on it.
Interior Process: - Loose dirt was blown out by compressed air (especiall on the centre console, seat rails, under the seats, airvents..
- All carpets were vacuumed.
- Vents were cleaned with APC+ Qtips + various brushes.
- All vinyl wiped with APC (door panel, seat rails, dashboard, steering, steering column, etc)
- Seats+interior door panels were brushed with APC + foam sprayer head and brushed with various brushes.
- Extracted out
- Oil residue was first dab with terry towels to soak in the excess oil
- Remaining oil - sprayed with APC 4:1 - then extracted out - managed to pull out all the stain
Picts taken during the Interior Cleanup
waste water from the extractor

APC on the soiled plastic mat
Next - on to
Paint Correction (DAY 2 - DAY 3 12noon)
Before polishing, I spent some time taking off most of the exterior decals. Armed with a hairdryer, it went off pretty easy. Residue cleanup with GooGone.
There were marks from the decals left on the paint. It was very apparent on the front hood. Some M105 took care of it quickly.
Took more picts to show the condition of the paint
( mixture of before and after taking off the decals)


Picts before taking off the decals.
I dont know how to read chinese so I dont know what it means


looks like a mark from a cable of some sort...

Front fender
On the with correction stage:
Shots taken during the polishing process

M80 x 1 pass on RB


On this picture, only the side mirrow was polished. The outer door panel havent been polished.

Paint was quite easy to correct.
Process:
Performed few test spots . Decided to go for M83 & M80. Process are as below:
- M83 & M80 on certain panels via Rotary (mostly on M80)
- some RIDS on Front bonnet - M105 with Purple Foam Wool Pad followed with M80 - all via Rotary (Megs, LC, 3M pads)
- Sealed up with good ol M21 2.0 (3 coats) on all body panels incld headlights & wheels via DA
- Chrome Exhaust tip clean with Megs Mag & Alu Polish + generic MFs
- Windows were sealed with RainX (3 coats)
So here are the AFTER SHS of the INTERIOR (majority was blurry so only got these - sorry) AND EXTERIOR
Forgot to take the after engine picts - sorry
INTERIOR AFTER

Sorry took w/o flash. The interior door panel actually turned up really good. All the dirt managed to be taken out.


All the stains on the seats managed to be taken out. Smells better also.
EXTERIOR AFTER


All in all, eventhough I was not feeling well, I had a great time. I love doing this
Thank you for viewing. Comments and advises are welcomed.


